TE Release Party Continues
June 30th, 2012

The July Release for Taylored Expressions is in full swing as all the new products are available in the Fresh Out of the Oven Department. I get to play along with the Baker’s Dozen for one more day of inspiration showcasing all the new stamp sets.
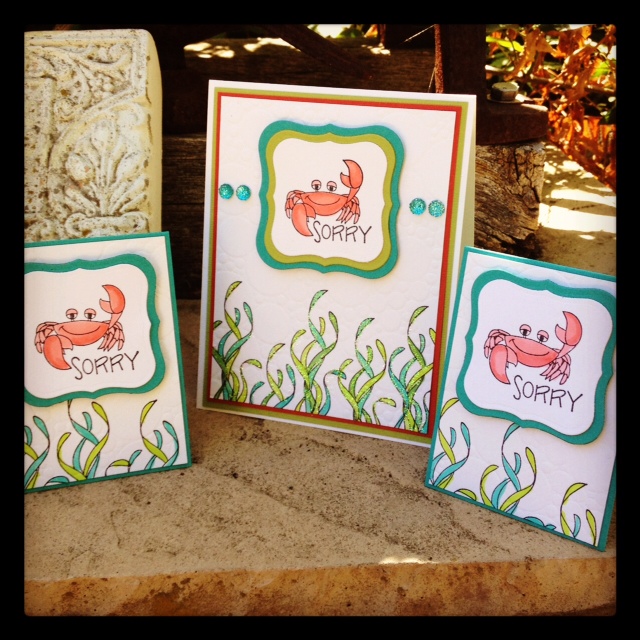
My sample today features Under the Sea, a full-size set illustrated by Nancy McKinney for the Whimsical Wishes collection. If you saw my post a few days ago that described my previous week, you’ll understand why I needed to make these cards for a few people! LOL!

And the inside:

I wanted a mostly white card, so I started by stamping the seaweed image repeatedly on the bottom of a Choice Snow White panel and coloring with Copics. Then I ran it through my Big Shot with the bubbles side of the new Waves/Bubbles Impression Plate before applying Diamond Stickles for plenty of sparkle.
I stamped the crab and colored him with Copics. I used Spellbinders Labels 1 and Labels 1 Small to cut and layer the image as well as for the sentiment inside. I love having both sets for tighter layering.
Once the regular sized card was done, I realized I should make a couple more, so I created tiny little notecard versions. I think I only spend about 15 minutes making the mini pair to go with little candy gifts. I only had a chance to snap a quick Instagram photo before taking these info the office.
You may have noticed that I’m on a real kick of using these fun little sparkly embellishments – Pebbles Crystal Candy Dots and Queen & Co. Goosebumps. At first glance in the store it might be a little hard to tell how they are different, so I made a short little video comparing the two. Both are self-adhesive and sparkly and FUN. I used the Goosebumps on the card above and the Candy Dots on my Coconut Cove that I posted on Thursday (and you’ll see it in the video.) You might find you prefer one over the other or, like me, might find you need them both in several colors! 😉 Check them out!
[youtube]https://www.youtube.com/watch?v=bMb2knilOWI[/youtube]
Now let’s see what the Baker’s Dozen has cooked up today:
Courtney Kelley – Guest Designer
Jami Sibley – DT Coordinator
Thanks for stopping by today. I hope you are having a great weekend! We have the dishwasher repairman coming this afternoon to see if it can be repaired or is we need a new one. It was one of the appliances fried in the power surge last week. Washing dishes by hand takes a lot of time!![]()
My First Paper Bag Album
September 29th, 2011
Happy Thursday! Sorry for the delay. I had hoped to have this up by Monday, but it’s just always somethin’. LOL!
I held my September Stamp Class two weeks ago and the project was a paper bag album – my very first paper bag album ever! I had gotten gorgeous paper kits from My Mind’s Eye (Lush Collection) and was dying to do a special project with them in class. During my August class I spouted off that we would make paper bag albums, despite the fact that I had never made one and at that point really didn’t have a clue as to how it was done. But I had wanted to make one for years and this seemed like the perfect opportunity to learn! I watched a bunch of videos on YouTube, which I was extremely grateful for, but ultimately chose a more simplictic approach that worked really well for me. The Rocket Scientist helped me put together a video to show you the album page by page as well as a little tutorial on how it’s constructed. I even have a couple of tips in case you want to teach something similar in a class like I did. I hope you enjoy it.
[youtube]https://www.youtube.com/watch?v=V3uVPvlora8[/youtube]
Some of the ladies in my class asked that I post still photos also for easy reference. So here’s the book, page by page.
Here’s the cover (the scallop is made with the TE Medium Scallop Die and the leaf is a SU punch):

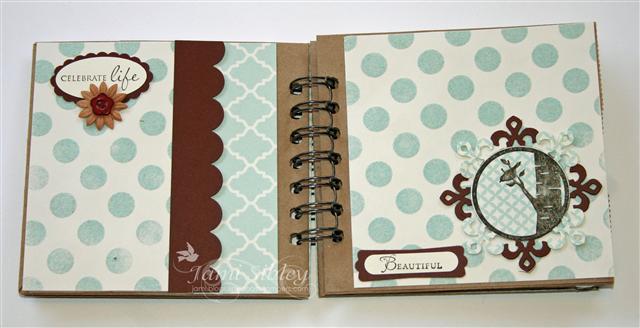
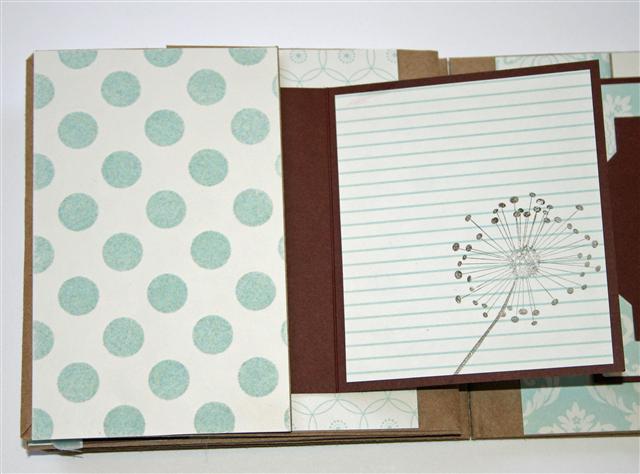
Pages 1 and 2:
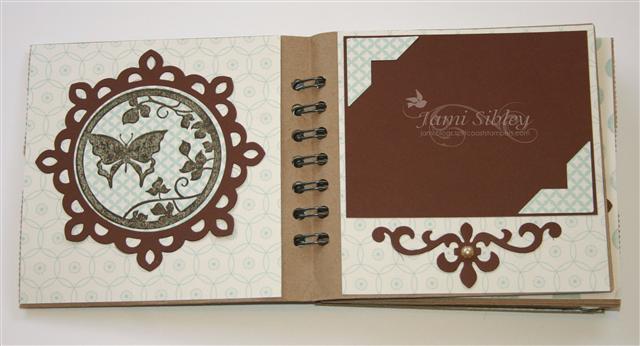
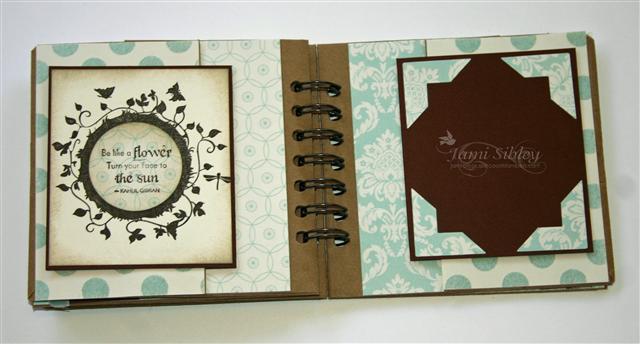
Pages 3 and 4 (under the scallop is a little pocket for a memento):
Pages 5 and 6:
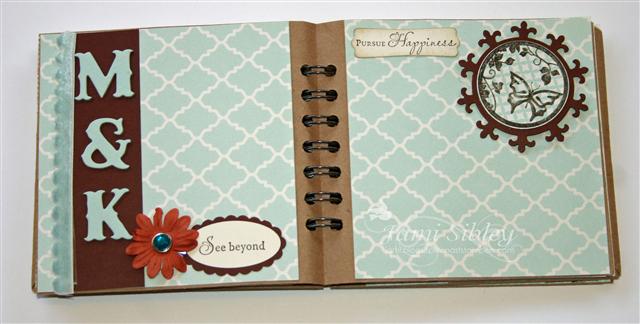
Pages 7 and 8 (these are little fold-over cards tucked into pockets created by the feet/flaps of the bags):
Page 7 – showing the journaling card open:
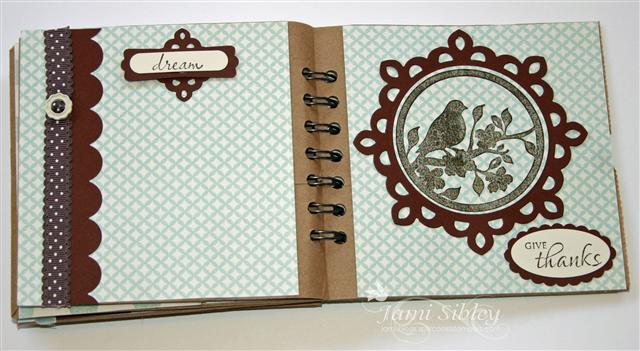
Pages 9 and 10:
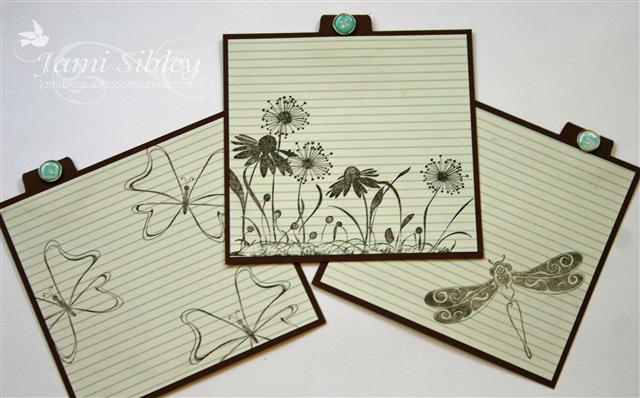
The insert cards (these are tucked into the 3 bag top openings):
This project was created with 3 brown lunch sacks, the MME Lush kit, my Cinch Binding Machine, Spellbinders Fleur de Lis Dies and stamps from Taylored Expressions: Embrace Beauty, Summer Afternoon, Celebrate Life, Discover Your Wings.
I created mine for my niece and her husband who will be celebrating their First Wedding Anniversary soon with a little trip. There are plenty of spots to add photos as well as opportunities to journal about the trip. I hope they like it. I was tickled pink with it! I had so much fun with this project that I want to do one for Christmas now! Oh and did you see the card I created to go with it? Just scroll down one post or click here.
So tell me, have you ever made a paper bag album? If you haven’t, you really need to! Check out my video and let me know if you have any questions. I will admit that this was a big project for an evening class, but really it went pretty smoothly and I think everyone loved the result. Next month we’re back to cards though. 😉
![]()
Taylored Expressions November Release Day
November 4th, 2010
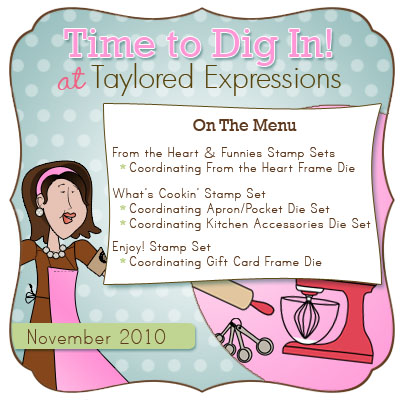
Taylored Expressions Store! It’s time to DIG IN!!! Be sure to check out the Fresh Out of the Oven Department for all the stamp sets and dies plus tons of other new products. I’m joining the Baker’s Dozen today in presenting even more shopping inspiration for you. *wink*
It’s Release Day at Taylored Expressions. Everything we’ve been showing you over the past several days in now available for purchase at the
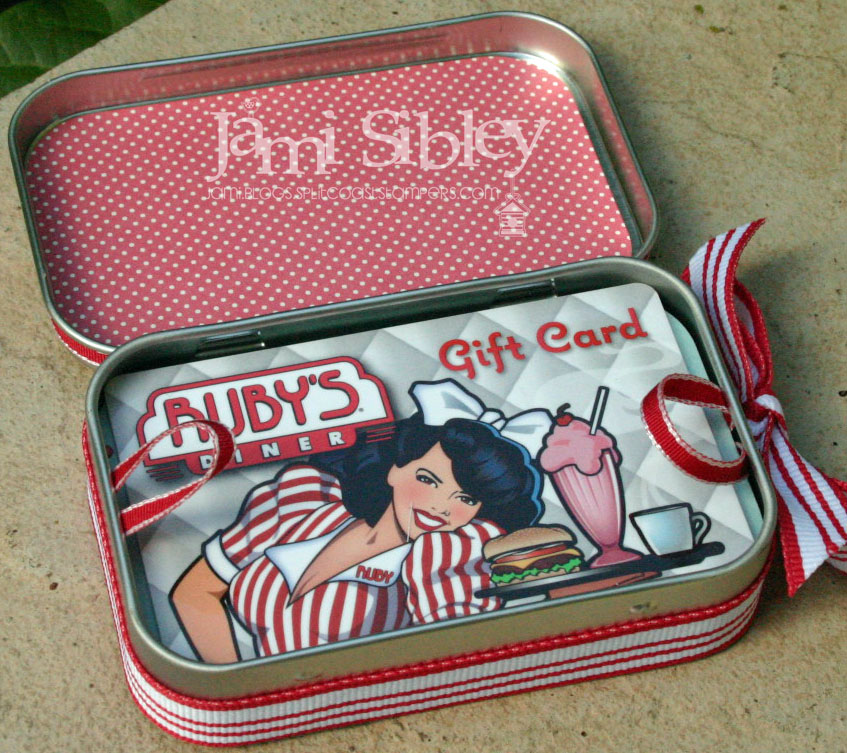
Today I have 2 gift card holders made with the new stamp set Enjoy!, the Gift Card Frame Die, and a couple of small hindged tins (or altoids tins). The frame image and die were designed to fit perfectly on or in these tins.

This first tin was made to coordinate with the card I showed you on Monday as part of a little thank you gift. I stamped the place setting image on Buttercream cardstock and colored it with Copics. Then I punched it out with a 1 3/4″ Circle Punch and trimmed it out with Taylor’s Tiny Twinkles. You can see the polka dot frame was cute with the Gift Card Frame Die and fits perfectly on top of this tin.

I trimmed the edges with ribbon adhered with Zip Dry. Inside is a gift card for Ruby’s Diner. YUMMMMM! Did you know that they have these gift cards at Costco here in SoCal? Only $40 for two $25 gift cards! Like I said…yum!
My second tin was created to hold a Starbuck’s card – still a super popular gift for all sorts of occasions!

This time I used dp from the Snow Day Project Pantry and put the frame image on the inside of the tin. This tin is super simple and it would be really quick to whip up several of these to have on hand. You could even leave off the image until you’re sure what type of gift card will go inside. Although this is Christmas paper, it will really work year-round.
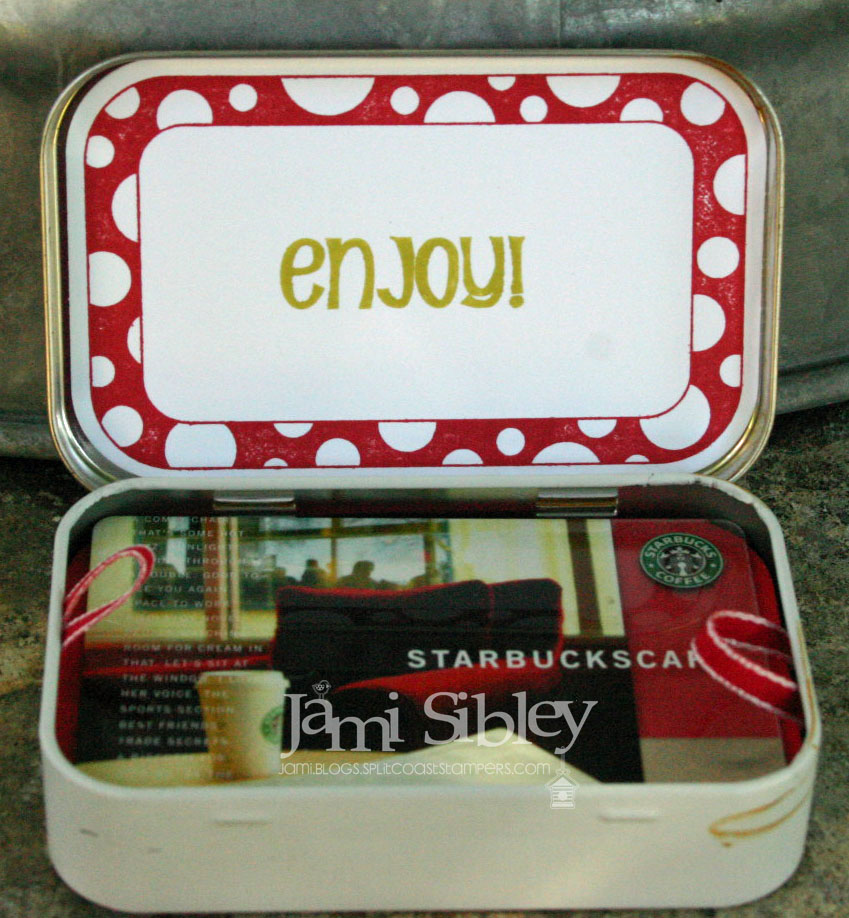
You might notice that my cards are raised up on a platform in my tins and that I included little ribbon loops. I simply use a piece of 3×3 cardstock scored and 1/2″ on each side to create the platform. I’ve put together a video to share a few tips about creating these gift card tins. If you have a few minutes, take a look and let me know what you think. I’m going to ask you to please cut me a little slack as this is the first time I’ve made an over-the-shoulder video. There are several times when I thought I was holding something up to the camera for you to see close up, only to find that I was actually holding it out-of-frame! LOL! I promise to get better! I’d love to make more video tutorials!
[youtube]https://www.youtube.com/watch?v=ufhd1uP-7H8[/youtube]
Thanks so much for spending some time with me today. Let’s check out what the Baker’s Dozen has cooked up with all the new goodies…they will have samples of all the new sets…
- Charmaine Ikach
- Danielle Lounds
- Donna Baker
- Jackie Pedro
- Jodi Collins
- Karen Giron
- Karen Motz
- Melissa Sauls
- Mona Pendleton – Guest Designer
- Regina Mangum
- Sankari Wegman
- Taylor VanBruggen
- Tori Wild
Happy Hopping and Happy Shopping! Have a great weekend!
![]()
Center of Attention Product Spotlight – Mini Binder Box
November 16th, 2009
 Today I have the opportunity to participate with half of the Baker’s Dozen in a Taylored Expressions Center of Attention Product Spotlight. When I say I *have the opportunity* I should say that I almost begged to be included since the product is something I absolutely LOVE! We’re focusing our attention today on the Mini Binder Boxes from the TE Store.
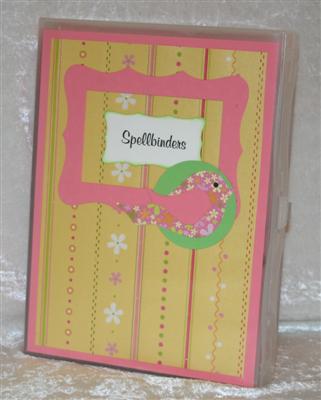
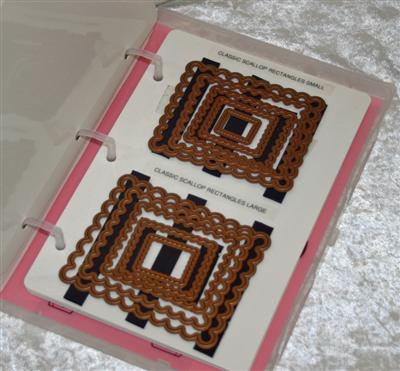
Before these boxes came along I was struggling with various methods of storing unmounted stamps – both clear and rubber. I just wasn’t completely happy with any of the methods I had tried. For me, the Mini Binder Box was the BEST universal solution for my unmounted stamps. Of course the TE stamps come on a full color panel ready to just slip into the box, but I was so happy that Taylor also has the plain panels available for purchase so I could easily store my other unmounted rubber AND my clear sets. I find that I can get 4 panels in a box storing rubber on thick EZ foam and 6 panels in a box storing clear stamps.
BUT WAIT – THERE’S MORE! The Mini Binder Box and plain storage panels are perfect for storing all shapes and sizes of Spellbinder’s dies! Above you see my MBB customized for my Spellbinders and below you can see a close up of one of the panels with strips of adhesive magnets (available in rolls at Michael’s) to hold the dies.. I know how difficult it is to get the full concept of these boxes just through photos, so my hubby helped me make my very first video. *GRIN* I hope you find it helpful. Please leave me a comment and let me know what you think about the video and feel free to ask any questions you might have about the Mini Binder Boxes.
[youtube]https://www.youtube.com/watch?v=8HVUxrJfhmk[/youtube]
ETA: And in honor of our Center of Attention product spotlight, the Mini Binder Box is an additional 15% off today and tomorrow (November 16-17) so don’t delay and pick yours up for just $8.46 each!
And now let’s check out what the rest of the girls have to say about the Mini Binder Box today:
And I want to wish a very Happy Birthday to Nancy McKinney! Huge HUGS to you, my UBER talented friend!!!
And Happy Monday to everyone! Thanks for stopping by!