Taylored Expressions October Release Sneak Peeks Day 2
October 4th, 2011

October Release At a Glance
- We have sneak peeks to share Monday through Wednesday. All of the new products will be available for purchase on Thursday, October 6th at 8 am PST. You’ll find it all in the Fresh out of the Oven Department at the Taylored Expressions Store.
- Join us as a fan on Facebook for an early peek at the stamp sets, as well as a SPECIAL Facebook GIVEAWAY, on Wednesday night beginning at approximately 6 pm PST.
- Mystery Baker’s Dozen Blog Giveaway: Each day, one lucky blog commenter will be chosen by random draw to win a $10 TE Gift Certificate. Winners will be chosen from a different Baker’s Dozen blog each day and will be announced on Taylor’s blog on Release Day! Be sure to hop around to see all the sneak peeks and leave comments on each and every blog for more chances to win. Limit one comment per blog per day, please. Comments close Wednesday 10/5 at 7pm PST for the drawings.
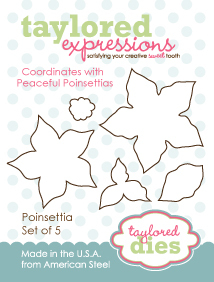
Welcome to Day 2 of the TE Sneak Peeks! We have 2 fabulous sets to show you today – Totally Tags and Peaceful Poinsettias. My sample showcases Peaceful Poinsettias illustrated by Nancy McKinney for the Whimsical Wishes collection. It’s a full size (5.75″ x 8.5″) set with 16 images and it has so many options for creating gorgeous poinsettias! You can stamp outlines and color with Copics, you can stamp solid images with ink, and you can die cut and layer to your heart’s content with the coordinating Poinsettia Taylored Die set! I had so much fun playing with this set and I know you’re going to be amazed when you see what the Baker’s Dozen came up with!
My project is a $2.49 picture frame I picked up at Michael’s. I wanted to frame the photo of Tessa that we used on our Christmas cards last year. Look at my sweet baby wearing her Christmas coat! (Click on the photos to see them larger.)
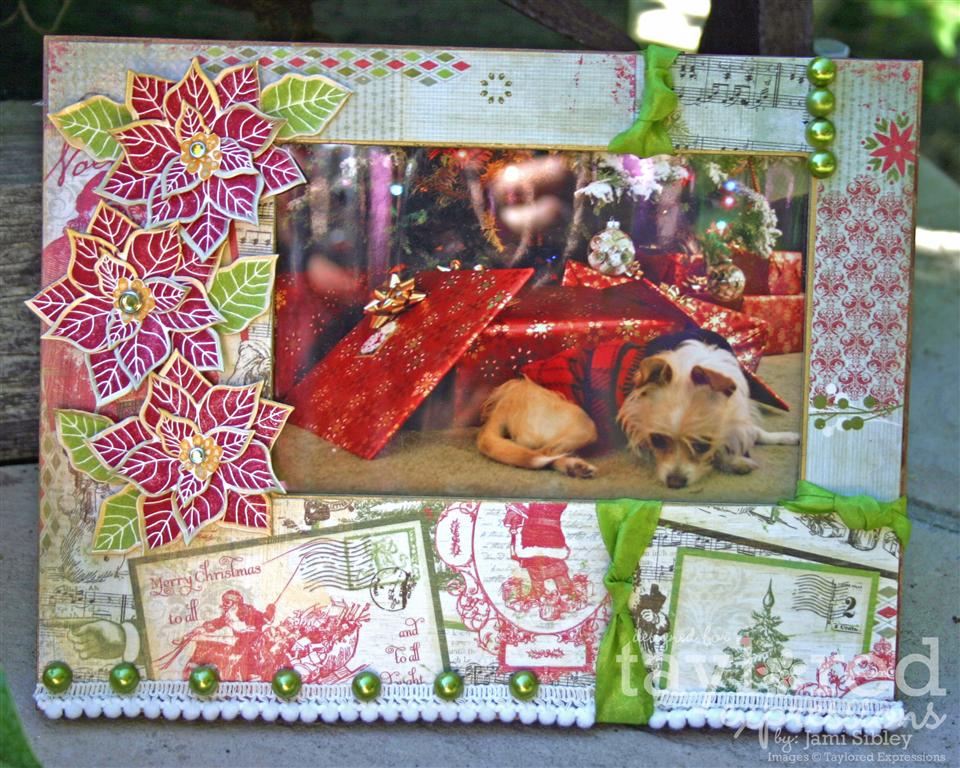
I used papers and ribbon from the Holiday Wonder Project Pantry (also available Thursday.) The papers were adhered with Mod Podge and then covered with Shimmer Mod Podge which has a pretty gold shimmery finish. The dimensional poinsettias are the star of the show though!
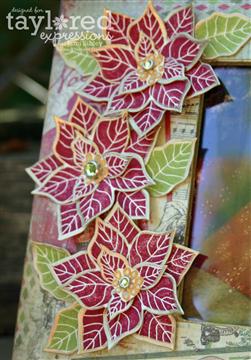
Here’s what I did to achieve this look:
- Stamped the solid layer images onto ivory cardstock with Cherry Cobbler, More Mustard, and Lucky Limeade ink
- Die cut all my pieces with the Poinsettia Taylored Dies
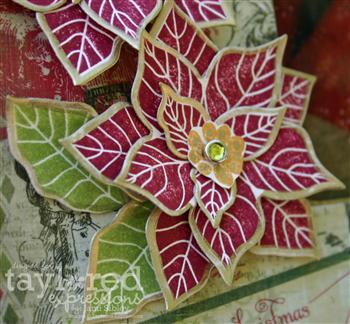
- Used a Krylon Gold Leafing Pen to go around all the edges – love the rich elegant look of this!
- Placed each piece on a piercing mat (a mouse pad would also work) and used an embossing stylus to emboss into all the veins on all individual layers and leaves
- Used my knuckle to impress deeply into the center of each flower layer
- Lined up the layers on the piercing mat and used my piercer to punch a hole for a rhinestone brad
- Attached all layers together with the rhinestone brad
Once I got going, all of those steps went pretty quickly. I’m excited to have a new Christmas decor piece and I’m anxious to play with this stamp set even more! Let’s see what the Baker’s Dozen has cooked up!
- Charmaine Ikach
- Danielle Lounds
- Jodi Collins
- Karen Giron
- Karen Motz
- Melissa Sauls
- Melody Rupple
- Regina Mangum
- Sankari Wegman
- Taylor VanBruggen
- Tori Wild
- Wanda Guess
- Jen Shults – Guest Designer
Thanks for stopping by! Even more peeks are on the way tomorrow!
![]()
Easter Table Decor
April 25th, 2011
Happy Monday! I hope you had a wonderful Easter weekend! Ours was jammed packed! Easter started out with a beautiful church service featuring an inspiring musical presentation by the choir (including my hubby) and orchestra as well as a message presented by Pastor Jeff.
Immediately after church we ran home to pop the egg casseroles in the oven and finish preparations for a brunch in our backyard for 14 people. It rained while we were at church, so the tablecloths were thrown in the dryer and we debated about moving the party inside. Fortunately the sun came out and we went back to plan A! As we were getting set up I took some photos of the table decor.
My friend JulieHRR posted a link on Facebook to last minute Easter decorations on Thursday or Friday of last week and it was just the fun inspiration I needed! I love the way everything turned out!
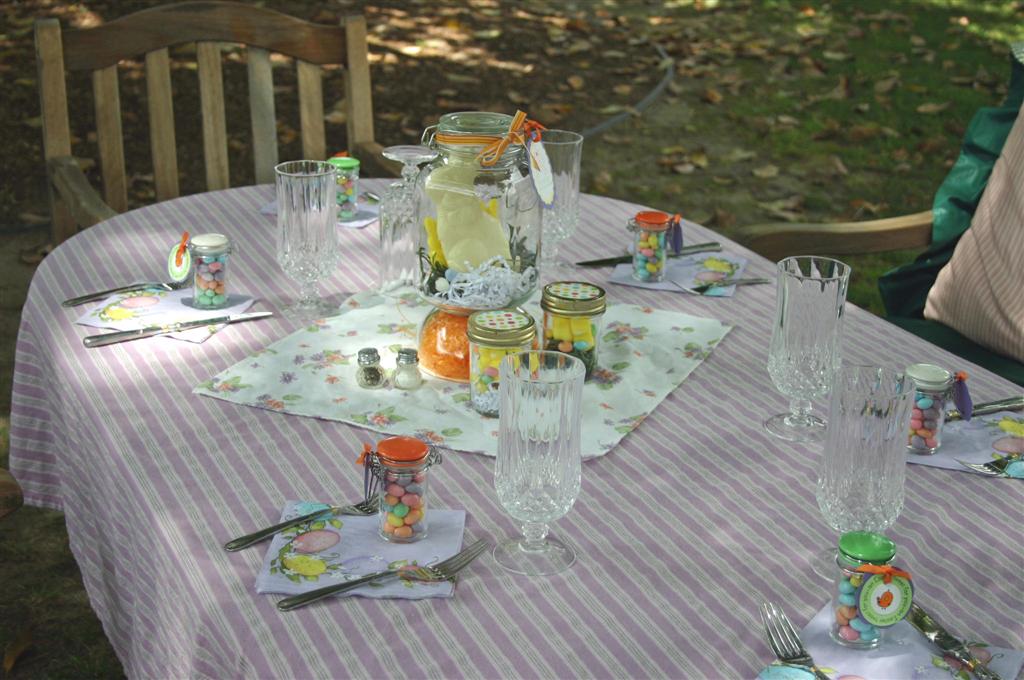
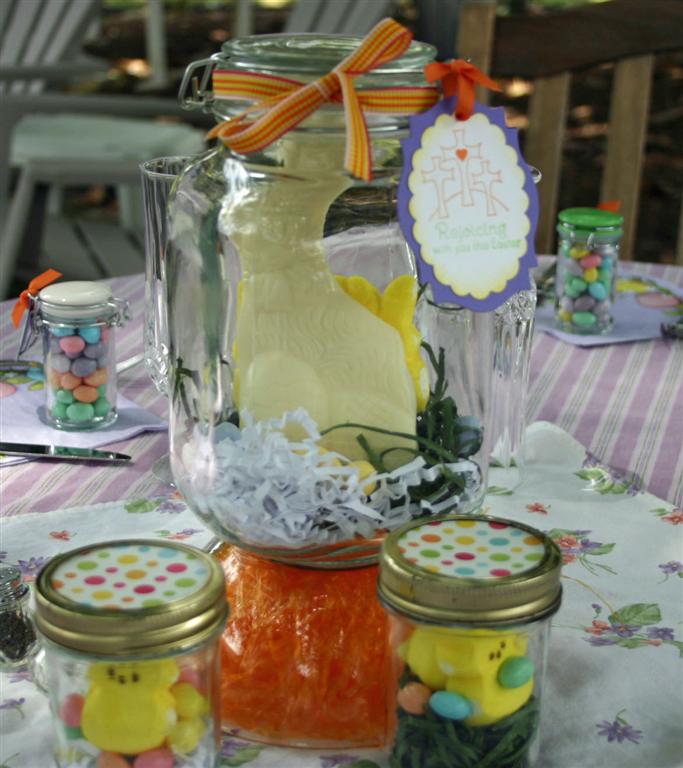
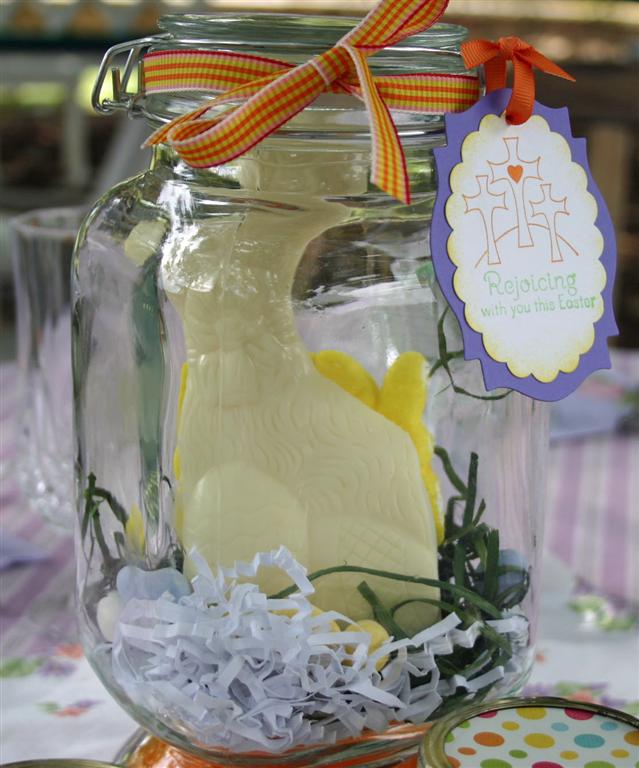

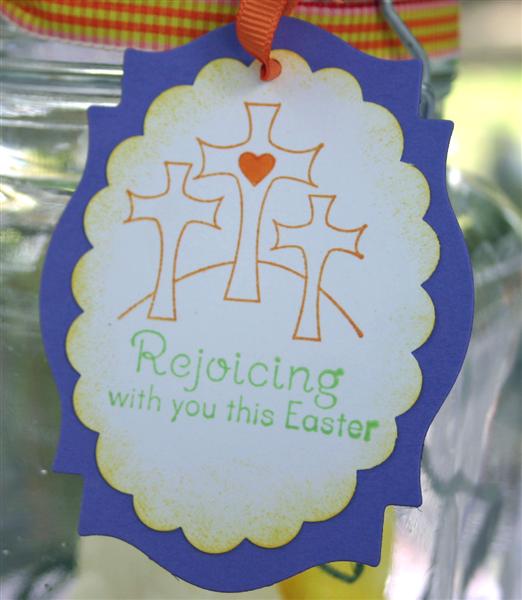
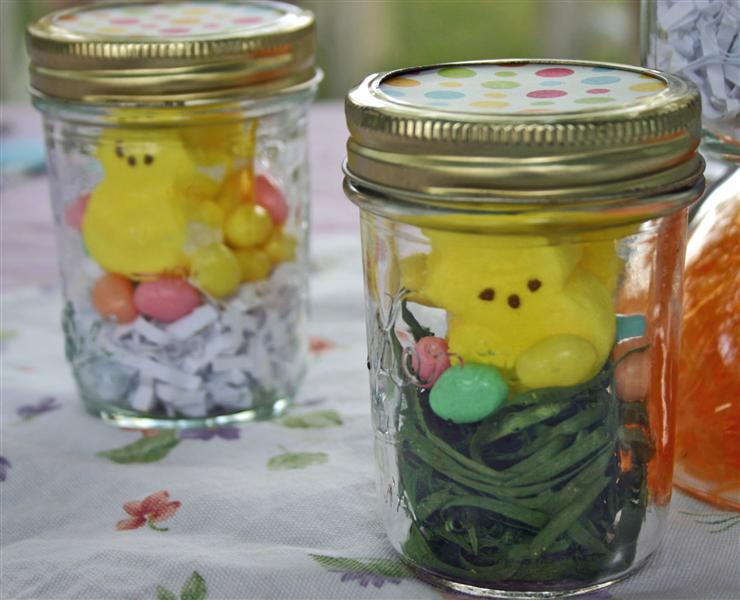
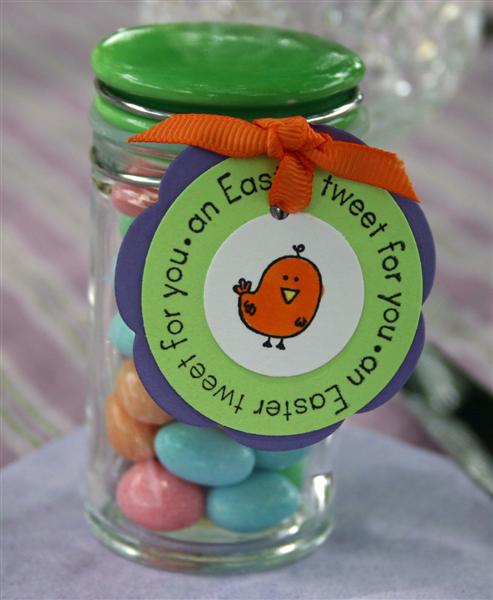
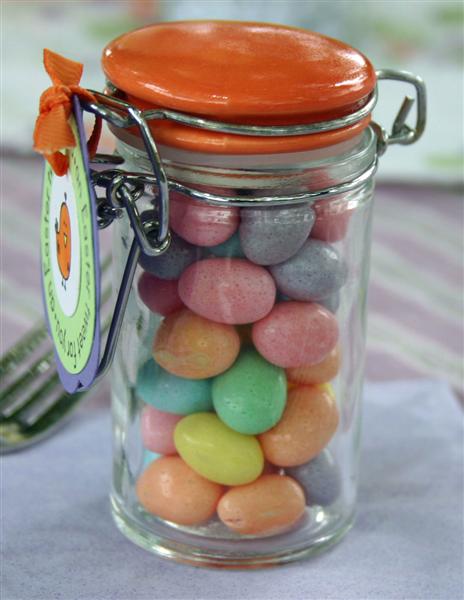
I purchased the large jars and the little favor jars at Cost Plus Imports along with the grass/shred. I picked up the candy eggs. peeps, and bunnies at Target. The little canning jars were in my cupboard and I just had to fill them with peeps bunnies. Tags were created with TE stamps – Hello Spring and Easter Joy. The large jar centerpieces were set on top of inverted glass bowls filled with orange Easter grass. Funny little thing about the larger centerpiece…when I started to put it all together I discovered that the white chocolate bunny was too wide to fit into the mouth of the jar. Oops! I was dejected, until I realized I could do surgery with a pair of kitchen shears. LOL! I just kept trimming till that bunny butt until it fit into the jar!
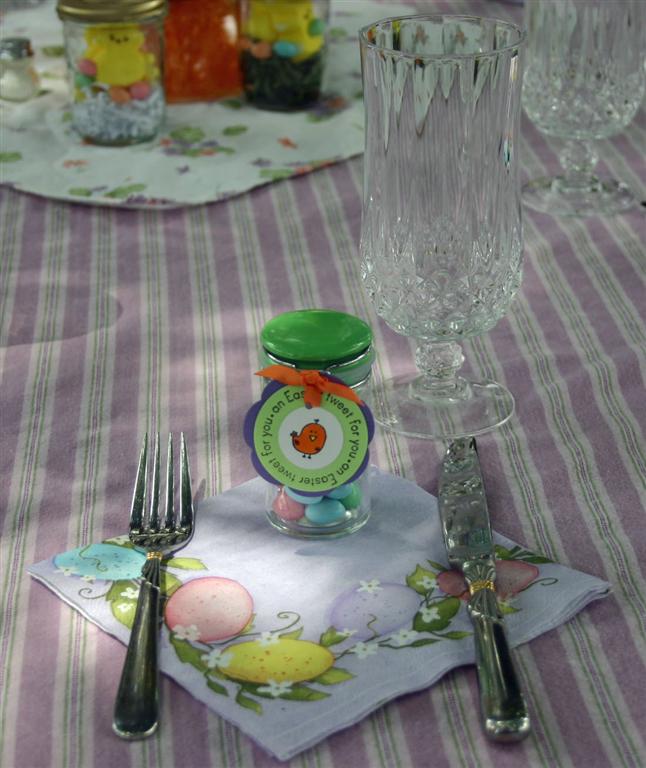
I forgot to take a photo of the buffet table, but I had a smaller version of the centerpiece there surrounded by jars and champagne flutes filled with candy. After taking these photos, the camera got put back in the house and I was bummed when I realized last night that I never took any people pictures. Gosh – I used to be so much better about that! It was a wondersul day with friends and family and worth all the effort that went into it!
Thanks for stopping by. Have a great day!
![]()


